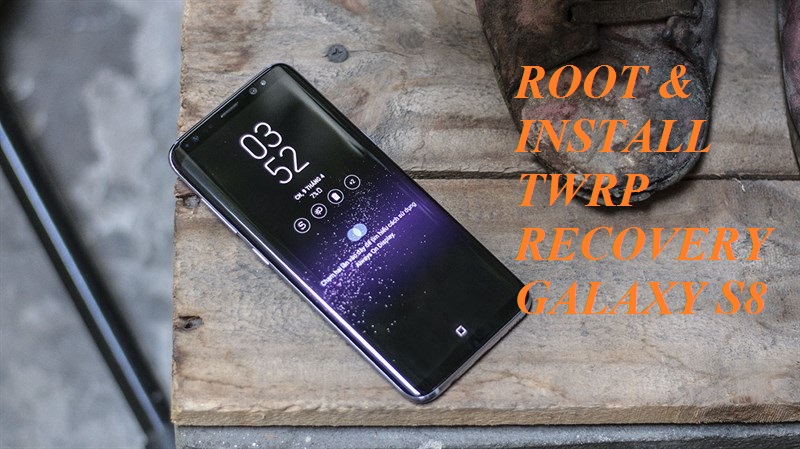
It is no longer after the launch of Galaxy S8, the TWRP custom recovery is available for the device. If you have a Samsung galaxy S8 smartphone and want to customize your handset, then a custom recovery is the best choice. The TWRP recovery currently works with all Exynos S8 versions, including G950F, G950FD, G950X, G950N and is built on the 3.1.1-0 version. So if you are fond of this twrp recovery as well as the root access, here is how to install them on your Galaxy S8 smartphone.
However, before starting, you should meet some requirements:
- Charge your S8 battery to at least 50% to get rid of any hiccups during the process.
- Create a full backup of your important data.
- Download and install the latest Samsung USB drivers on your computer.
- Enable USB Debugging and OEM Unlock in Settings > Developer If it is turned off, you won’t be able to flash TWRP.
- Download the Odin program and extract the zip: Odin_v3.12.zip
Warning
Flashing TWRP and rooting will remove the KNOX, which will lose the warranty of your device. We won’t take responsible for any damage to the device. However, in case you have any problems, we will help you with the best of our capability.
Install TWRP Recovery On Samsung Galaxy S8
- First, download TWRP recovery: twrp-3.1.0.tar
- Then, boot your device into the Download Mode by first switching off the device and then long-pressing the Volume Down, Bixby, and Power buttons until you see a warning message on the screen. After that, tap the Volume Up button and your device will automatically boot into the Download Mode.
- Plug your device to the computer using a USB type-C cable.
- Head to the folder where you extracted the Odin app and launch it.
- If the ID:COMport corresponding to your device shall light up, that means the connection is successful. If it doesn’t, you need to reinstall the USB drivers.
- Now, click on the AP box and select the “twrp-3.1.0.tar” file. Make sure that you have unchecked the Auto Reboot
- Finally, click on Start to begin the process.
- Once it is complete, a PASS! message will display on the Odin screen. Do not reboot your device yet.
Root Samsung Galaxy S8
Once you have successfully installed the TWRP recovery, now boot your device in this mode to flash the root file:
- First download two necessary files for the root: no-verity-opt-encrypt and Latest Magisk
- Your phone is now still in the Download Mode, press and hold the Volume Down, Bixby, and Power buttons until the screen is off.
- As soon as the display turns on, release the Volume Down key and press the Volume Up button while still holding Power and Bixby
- Wait for a minute and you are in the recovery, tap on Install and flash the no-verity-opt-encrypt Once done, a reboot screen will pop up, tap on No to continue to flash the Magisk file. After that, make a wipe > format data and flash the other file.
- Once done, reboot your device
You have successfully rooted and installed a custom recovery on your Galaxy S8. Hope this post is useful for you. If you have any question, let’s know in the comment below.
