While the video editor tool has appeared on iPhone/iPad devices for years, it still lacks the basic features like the ability to resize videos directly from a device.
There are several reasons you need to resize a video. Sometimes, you want to reduce the size of your video to save up space on your iPhone/iPad or you need to upload it to the social media network that requires dimensions for videos. For whatever reason, even when the Photos app on your iPhone/iPad does not allow you to resize of a video, there are still several options that can do the job for you. Here is how to resize videos on iPhone/iPad.
First, What’s the Difference Between Compressing & Resizing?
First of all, you need to know some basic terms about “compress” and “resize”
- Compressing a video means that it will make the video become smaller. You can compress the size of a video by reducing the frame rate or reduce that video’s dimensions. The result is that your video will have a lower quality than the original one, but you can save more free space on your device.
- Resizing a video means that it will change the dimensions of your video, making it smaller. But, when you resize a video, its quality still remains. If you choose to resize a video, its total size will be decreased over the original one.
In this guide, we’ll use a third party app, called Compress Videos, which a free app from the App Store. You can use this app to resize videos on your iOS device.
How to Resize Videos on iOS/iPadOS
If you want to change the dimensions of a video without affecting the quaily of that video, the compress app can help you do that. Here is how to use it.
Step 1: Download Compress Videos for your iPhone/iPad from the App Store. It’s completely free

Step 2: Wait for the installation to complete and then open the app.
Step 3: Choose your preferred videos that you want to resize. Then, tap on Next
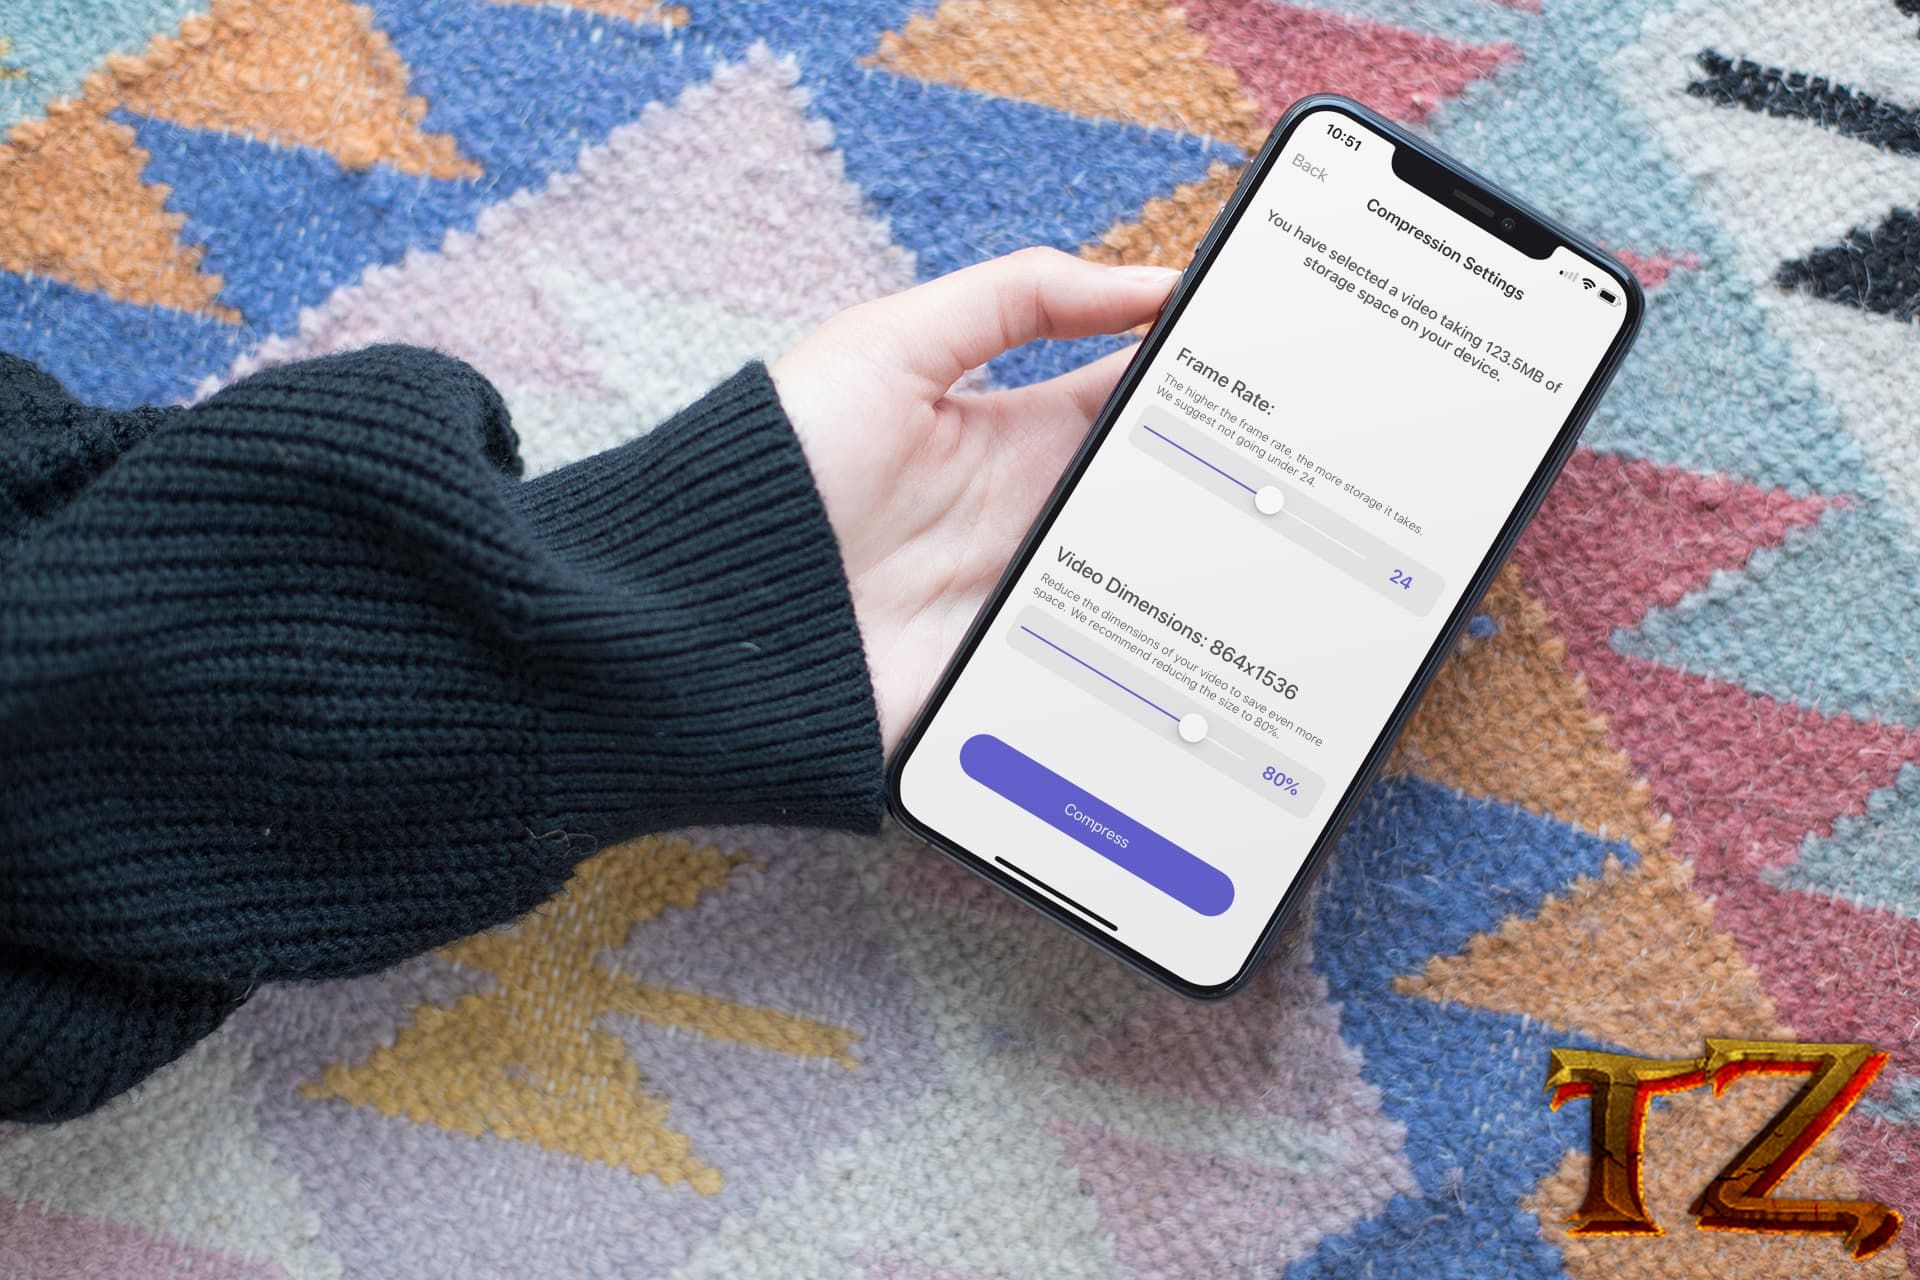
Step 4: You will now be taken to the Compression Settings screen. From there, set the frame rate to the maximum as possible. After that, drag the Video Dimensions slider to resize your desired videos.

Note:
The slider will automatically retain the exact dimension proportions, thus you are not able to end up with a unique aspect ratio from the original video.
Step 4: After you selected videos for dimensions, tap on the Compress button. The Compress app will start processing your videos and then save a copy to the library on your iPhone/iPad. There is also a new album, called Compressed videos in the Photos after you resize videos.

The process is very simple, right! Even when Apple has not brought this feature into the Photos app, there are still solutions to resize videos on iPhone/iPad. If you feel this post helpful, let’s know in the comment below.